
How to Crimp 8 AWG Ring Lugs for a Secure Connection
In the realm of electrical systems, the reliability of connections is paramount. Whether it's automotive wiring, marine applications, or solar power installations, the integrity of each connection point directly influences the system's overall performance and safety. Among the various connectors available, ring lugs are favored for their secure and dependable termination, especially in environments with vibration or movement. Specifically, 8 AWG lugs are essential in many mid-range power applications. Correctly crimping these 8 gauge lugs is more than a procedure; it's a necessity for a reliable, low-resistance, and safe electrical pathway. A well-executed crimp on 8 awg lugs ensures the connection's durability and resilience under operational stress, preventing failures that lead to costly repairs or hazards. This guide offers an in-depth exploration of the crimping process for 8 awg lugs, providing the knowledge and techniques for optimal results.
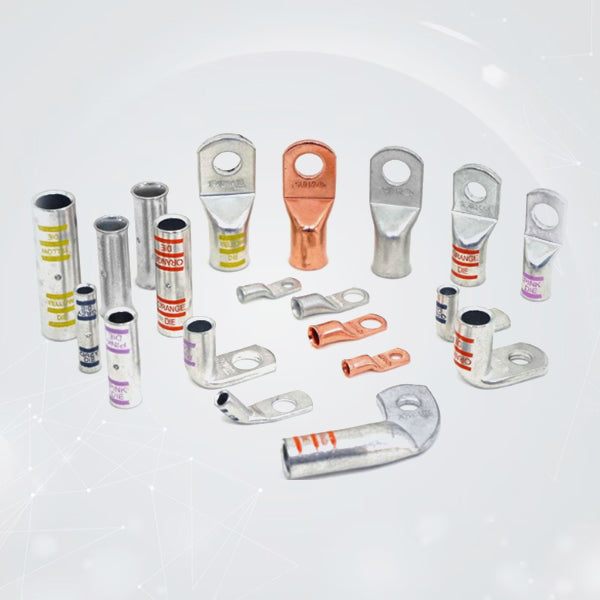
Understanding 8 AWG Ring Lugs
Before detailing the crimping process, it's crucial to understand 8 AWG ring lugs. These lugs terminate 8 AWG wires, a common size in various electrical setups. "AWG" denotes American Wire Gauge, a standard for measuring wire diameter. Ring lugs offer a distinct advantage over other connectors with their bolt or screw securing method. This fastening provides a more robust, vibration-resistant connection, reducing accidental disconnections. 8 gauge lugs are frequently used in battery connections, grounding points, and power distribution blocks, where secure and consistent connections are vital for efficient current flow and minimal voltage drops.
The Importance of Proper Crimping
Crimping joins a lug to a wire by compressing the lug barrel around the wire's conductor. This process is critical for creating a gas-tight seal, preventing corrosion, and ensuring low resistance. A properly crimped 8 awg lug essentially becomes one with the wire, maximizing contact area for unimpeded current flow. Improper crimping leads to high resistance, overheating, damaged insulation, and potential fire hazards. Mastering the crimping of 8 gauge lugs is essential for safety, efficiency, and reliability.
Step-by-Step Crimping Guide
- Prepare the Cable: Begin by stripping the insulation from the 8 AWG wire, ideally to 5/8" or 15–16 mm. Accurate stripping is crucial to avoid too much or too little exposed wire, which can lead to shorts or poor connections. Use a wire stripper carefully to prevent nicking the wire strands.
- Insert the Cable: Fully insert the stripped wire end into the 8 awg copper wire lugs barrel to ensure maximum contact between the wire and lug for a good electrical connection.
- Select the Right Crimping Tool: Use a dedicated 8 AWG crimper, either hex or hammer type, to apply the correct pressure for a secure crimp.
- Apply the Crimp: Position the lug and wire in the crimper and apply firm, even pressure to create a permanent bond.
- Inspect the Crimp: Check for uniform compression, no loose strands, and no damage to the lug.
- Perform a Pull Test: Gently pull on the cable to ensure the connection is secure.
Key Considerations for Success
- Tool Quality: Invest in a high-quality crimping tool for reliable crimps.
- Cable Preparation: Accurate stripping prevents connection issues.
- Lug Quality: Use high-quality, appropriately sized 8 awg wire lug.
- Safety Precautions: Disconnect power before working on connections and wear safety gear.
Technical Details Recap
- Cable Gauge: 8 AWG
- Strip Length: 5/8" or 15–16 mm
- Recommended Tool: 8 AWG rated hex or hammer crimper
- Typical Stud Size: 1/4" to 5/16"
Conclusion
Correctly crimping 8 gauge wire copper lugs is essential for safe, reliable, and efficient electrical connections. Following these steps ensures strong, durable connections in various applications, from professional electrical work to DIY projects. Proper crimping is vital for creating a robust and enduring pathway for power.


