
How to Properly Install Copper Lugs for Secure Connections
Copper lugs are essential components for creating secure electrical connections. Whether you are dealing with battery systems, industrial wiring, or automotive applications, using copper lugs ensures reliable conductivity and durability. This article will guide you through the proper steps to install copper lugs, highlighting the importance of precision and safety.
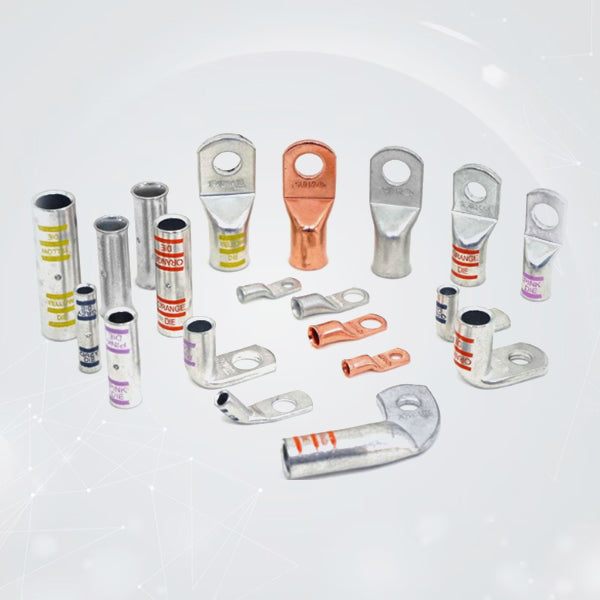
Why Use Copper Lugs?
Copper lugs are widely used in electrical systems due to their excellent conductivity and corrosion resistance. These lugs create strong, long-lasting connections by providing a secure interface between wires and terminals. In battery systems, battery copper lugs are particularly essential because they ensure that high currents flow efficiently without overheating or energy loss. Additionally, tinned copper lugs offer extra corrosion resistance, making them suitable for environments exposed to moisture, such as marine or outdoor settings.
Tools and Materials Needed
To install copper lugs properly, gather the following tools and materials:
-
Bare copper lugs or tinned copper lugs, depending on your application.
-
A wire stripper to remove insulation.
-
A crimping tool designed for your lug size.
-
Heat shrink tubing kit for insulation.
-
A heat gun or lighter to shrink the tubing.
-
Electrical tape (optional for added protection).
-
A multimeter to test the connection.
Step-by-Step Installation Process
Step 1: Select the Right Copper Lug
Choose the correct size and type of copper lug for your application. For battery connections, use tinned copper battery lugs, as these are designed to handle high currents and resist corrosion. Ensure the lug matches the gauge of your wire and the size of the terminal stud.
Step 2: Prepare the Wire
Strip the insulation from the wire using a wire stripper, ensuring you remove just enough to expose the copper strands without damaging them. The exposed wire length should match the depth of the lug barrel for a snug fit.
Step 3: Insert the Wire into the Lug
Slide the stripped wire into the barrel of the copper lug. Ensure all strands are inserted and no loose wires are sticking out. This ensures a secure connection and optimal conductivity.
Step 4: Crimp the Copper Lug
Using a crimping tool, apply pressure to the lug barrel to secure the wire. The crimping tool should be compatible with the size of the lug and wire. Proper crimping ensures the wire is tightly secured and won’t loosen over time.
Step 5: Insulate the Connection
To protect the connection and prevent short circuits, slide a piece of heat shrink tubing over the tinned copper battery lug and wire. Use a heat gun to shrink the tubing until it forms a tight seal around the connection. This step is particularly important, as it adds an extra layer of protection.
Step 6: Secure the Lug to the Terminal
Attach the lug to the terminal stud or connection point. Use a wrench or appropriate tool to tighten the connection securely, ensuring there is no movement or play. Avoid over tightening, as this can damage the lug or terminal.
Step 7: Test the Connection
Using a multimeter, check the continuity of the connection to ensure it is secure and conductive. This step verifies that the installation was successful and minimizes the risk of failure during operation.
Tips for a Reliable Installation
-
Choose High-Quality Lugs: Use high-quality tinned copper lugs for better durability and performance.
-
Use the Right Tools: A proper crimping tool ensures a strong, uniform crimp that won’t fail under stress.
-
Double-Check Compatibility: Ensure the lug size matches both the wire gauge and terminal stud size.
-
Keep Connections Clean: Before attaching the lug, clean the terminal surface to remove any dirt or corrosion for optimal conductivity.
-
Inspect the Crimp: After crimping, check that the lug and wire are securely attached with no gaps or loose strands.
-
Consider Environmental Factors: In environments prone to moisture or corrosion, always opt for tinned copper lugs for enhanced resistance.
Common Mistakes to Avoid
-
Using the Wrong Lug Size: A mismatched lug can lead to poor conductivity or a loose connection.
-
Improper Stripping: Stripping too much or too little insulation can weaken the connection.
-
Inadequate Crimping: A weak crimp can cause the wire to loosen over time, leading to connection failure.
-
Skipping Insulation: Failing to insulate the connection increases the risk of short circuits and corrosion.
-
Overtightening: Excessive tightening can damage the lug, compromising its integrity.
Conclusion
Properly installing copper lugs is crucial for creating secure and reliable electrical connections. Whether you're working with standard battery copper lugs, or tinned copper battery lugs, following the steps outlined in this guide will ensure your connections are safe, durable, and efficient. By using the right tools and paying attention to detail, you can prevent common issues and achieve a professional-grade installation. Remember, investing in high-quality materials and proper techniques is key to maintaining the performance and longevity of your electrical systems.


