
Step‑By‑Step Guide to Installing 6 AWG Tinned Lugs
If you’re using 6 AWG cable, you’re dealing with serious power. Battery systems, inverters, winches, big audio, stuff like that. In these cases, the lug on the cable is not something to ignore. A bad crimp on a 6 AWG tinned lug can get hot, melt the insulation, or even cause a fire.
This is not a lab manual. It’s just how it is done every time, step by step, so it works and stays safe.
What’s a 6 AWG Tinned Lug?
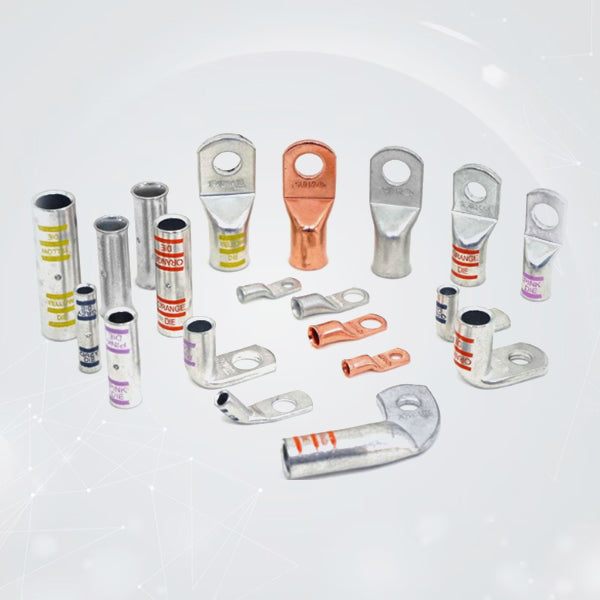
It’s a copper ring terminal made for 6 AWG cables. The surface is tin‑plated, so its silver tin helps stop corrosion, especially in boats, RVs, or any damp place.
They are:
- 6 AWG tinned lug
- 6 AWG tinned lugs
- 6 gauge tinned lug
- 6 gauge tinned lugs
They connect 6 AWG cables to:
- Battery terminals
- Studs
- Bus bars
You need the right one for your cable size and for the stud size on the terminal. Get that wrong, and the connection will be hampered.
What You Need
Before you start, make sure you have:
- 6 AWG cable, cut to the length you required
- 6 AWG tinned lugs that match your stud size (1/4", 5/16", 3/8", 1/2")
- A wire stripper that can handle 6 AWG
- A crimping tool meant for copper lugs (not random pliers)
- Wrench or socket for the terminal stud
- Heat shrink tubing (better if it has adhesive inside)
- Safety gloves and eye protection
If you’re working on a battery, disconnect the negative first. Always work on a dead system.
Step 1 – Cut the Cable
Measure the run from the battery to the load. Add a bit extra, about 8–12 inches, for service loop and future changes. Better too long than too short.
Cut the 6 AWG cable with a sharp tool. Make a clean cut.
Step 2 – Strip the Insulation
Now strip the outer insulation. How much? Usually about half an inch to 3/4 inch, depending on the lug.
The rule is simple: the bare copper should go all the way into the barrel of the 6 AWG tinned lug, until the insulation is just touching the back of the lug.
No bare copper should be visible behind the lug. All strands should be inside the barrel. If they’re outside, the crimp will be weak and the lug can overheat.
Step 3 – Choose the Right 6 AWG Tinned Lug
Matching the cable is only half the job. The lug must also fit the stud size.
Check the terminal or stud size whether it is 1/4", 5/16", 3/8", or 1/2"? The hole in the lug must match that.
Also, look at the lug:
- Is it for 6 AWG or 6 gauge?
- Is it thick or thin?
- Is it heavy duty enough for the current you’re running?
If you’re not sure, go for a heavy duty 6 AWG tinned lug. It’s safer than a cheap flimsy one.
Step 4 – Insert the Cable
Slide the stripped end into the barrel of the 6 AWG tinned lug. Push it all the way in. The insulation should sit right up against the back of the lug.
Check that:
- All strands are inside the barrel
- No strands are outside the barrel
- The cable is straight, not bent at a sharp angle
If the lug has a small hole in the back to see the cable end, use it. The insulation should be right at the back of the barrel.
Step 5 – Crimp It Right
The crimp is the most important part. Use a proper crimping tool for copper lugs, not just pliers or a sub-standard ratchet. The tool should have the right die for the lug size.
Place the lug in the crimper, straight. Crimp once in the middle of the barrel. For a long 6 gauge tinned lug used in high‑current jobs, some people do a second crimp near the front, but usually one good crimp is enough.
What a good crimp looks like:
- No gaps between the lug and the cable
- The barrel is fully compressed
- The cable cannot be pulled out by hand
If it feels loose, or the cable pulls out, cut it off and do it again.
Step 6 – Add Heat Shrink
Never leave the crimp exposed. It can short, corrode, or get damaged.
Before crimping, slide heat shrink tubing over the cable. After crimping, slide it over the crimp so it covers the lug and at least an inch of cable.
Use a heat gun or hair dryer to shrink it. Make sure it’s tight all around.
If it’s a boat, RV, engine compartment, or any place with moisture, use adhesive‑lined heat shrink. It seals the crimp better and keeps water out.
Step 7 – Mount on the Terminal
Now it’s time to connect the lug to the terminal or stud.
First, clean the stud and terminal. If it’s dirty, clean it with a wire brush or a bit of emery cloth.
Then:
- Slide the lug onto the stud
- Add a lock washer if the setup uses one
- Add the nut and tighten with a wrench
How tight?
- Tight enough that the lug does not move when you wiggle it
- Not so tight that you strip the stud or damage the terminal
- If you know the torque, use it
- If not, finger tight plus about a quarter turn with a wrench is usually safe for 6 gauge tinned lugs
Step 8 – Check Before Power
Before you reconnect the battery or turn on the system:
- Pull the lug and cable – it should not come loose
- Check the crimp: no gaps, no exposed copper
- Make sure the lug is not touching any other metal
- Make sure the nut is tight and the lug is secure
If everything looks good, reconnect the battery and test.
Remember to
- Always use the right 6 AWG tinned lug for the cable size and stud size
- Always use a proper crimping tool, never just pliers
- Don’t skip the heat shrink, especially in wet or dirty areas
- Check the connection after a few hours of use – look for heat, discoloration, or loose nuts
Conclusion
Installing 6 AWG tinned lugs isn’t complicated. The key is simple:
- Right lug for 6 AWG cable
- Proper crimp with the right tool
- Good insulation and clean installation
If you’re running 6 AWG for a battery, inverter, winch, or similar high‑power job, using 6 AWG tinned lugs helps keep the connection clean, reliable, and less prone to corrosion.


