
Step-by-Step Guide to Installing Tinned Copper Lugs Properly
Electrical connections are rarely the focus, but they take the most strain in a system. If a lug isn’t fixed properly, issues like heat, power drop, and corrosion tend to show up over time. This is even more critical with tinned copper lugs, as they’re usually used in environments where conditions are harsh and failure isn’t an option.
It doesn’t matter if the wiring is for a marine battery, an RV, or a solar or industrial setup. If tinned copper wire lugs aren’t installed properly, the system won’t perform the way it should and won’t last as long either. This piece simply shows how to do the job step by step, without skipping things or guessing along the way.
What Makes Tinned Copper Lugs Different
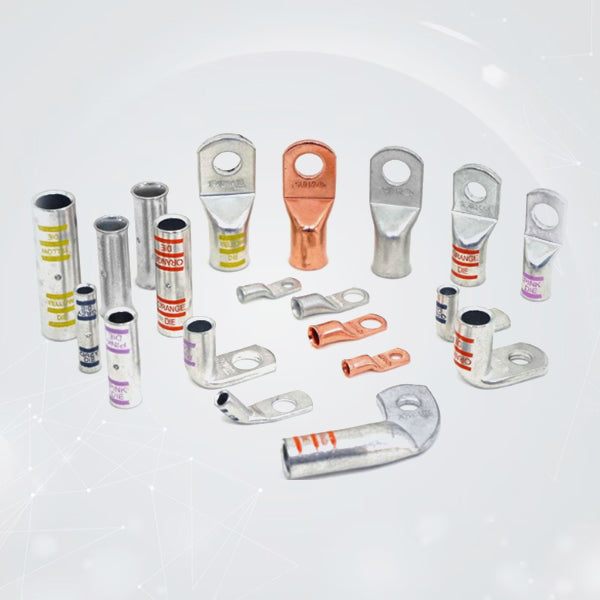
These lugs are basically copper, with a light tin coating on the outside. That thin coating makes a real difference once the lug is used in everyday working conditions.
The tin layer slows down oxidation, protects against moisture, and improves performance in corrosive environments. This is why marine grade lugs and outdoor electrical systems almost always use tinned copper instead of bare copper.
But even the best lug won’t perform as expected if it’s installed incorrectly. The coating does not compensate for loose crimps, damaged strands, or poor sealing.
Tools and Materials You’ll Need Before You Start
Before touching the cable, make sure you have the right tools. Improvised methods cause most installation failures.
You’ll need:
- Cable cutter rated for large gauge wire
- Proper stripping tool to avoid nicking strands
- Hydraulic or hex crimping tool matched to lug size
- Heat shrink tubing, preferably adhesive-lined
- Heat gun with controlled airflow
If you’re installing heavy duty tinned copper lugs, using the correct crimping tool is not optional. Pliers and hammer crimps create uneven pressure and internal gaps.
Step 1: Preparing the Cable Correctly
Start by cutting the cable cleanly. Uneven cuts cause poor seating inside the lug barrel.
Strip only the length needed for full insertion. Exposed strands outside the barrel increase corrosion risk, while under-stripping prevents full contact.
Once stripped:
- Inspect the strands
- Do not twist excessively
- Do not tin the wire with solder
Clean, straight strands allow the lug to compress evenly during crimping.
Step 2: Choosing the Right Lug Size and Type
The lug must match both the cable gauge and the stud size. A loose fit on either side creates resistance.
When selecting tinned copper wire lugs, confirm:
- Cable gauge rating matches exactly
- Stud hole aligns with your terminal or bus bar
- Barrel length accommodates the full conductor
For outdoor or marine work, use adhesive-lined heat shrink so the joint doesn’t get exposed after crimping.
Step 3: Crimping the Lug the Right Way
Insert the stripped cable fully into the lug barrel. You should feel it bottom out.
Position the lug in the crimper die so pressure is applied evenly around the barrel. Follow the crimp pattern recommended for your tool. Most quality heavy duty tinned copper lugs require one or two compressions depending on barrel length.
A proper crimp will:
- Lock the conductor firmly in place
- Show no visible gaps
- Resist twisting or pulling
Do not over-crimp. Excessive force can deform the barrel and weaken the connection.
Step 4: Sealing and Protecting the Connection
Slide heat shrink tubing over the lug barrel before crimping if you haven’t already.
After crimping:
- Center the tubing over the barrel and cable insulation
- Apply heat evenly from the middle outward
- Allow adhesive to flow and seal the edges
This step is essential for moisture protection, especially when using marine grade lugs or installing near batteries, engines, or outdoor enclosures.
Common Installation Mistakes to Avoid
Even experienced installers run into issues when rushing the job.
Avoid these common problems:
- Using the wrong crimp die size
- Crimping on insulation instead of conductor
- Leaving strands outside the barrel
- Skipping heat shrink in humid environments
- Reusing lugs after removal
Each mistake introduces resistance, heat, or long-term corrosion.
Where Properly Installed Tinned Copper Wire Lugs Perform Best
When installed correctly, tinned copper wire lugs excel in:
- Marine and offshore electrical systems
- RV and overland vehicle battery banks
- Solar installations exposed to weather
- Industrial and commercial power setups
The combination of corrosion resistance and solid mechanical bonding is what makes them dependable over time.
A Small Step That Makes a Big Difference
Fitting a lug isn’t just about getting power from one point to another. The real test is whether it stays tight when the system is running, vibrating, or exposed to rough conditions. When tinned copper lugs are installed properly, they carry current without trouble, don’t need constant checking, and help the wiring hold up for years.
If you’re planning a new setup or updating existing wiring, Selterm provides heavy duty tinned copper lugs built for clean crimps, proper sealing, and reliable performance even in demanding applications.


