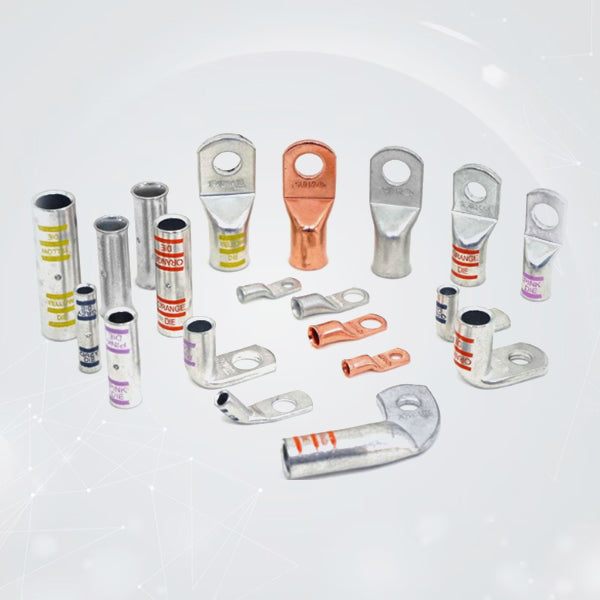

Top Installation Mistakes To Avoid With 2 AWG Cable Lugs
If you’re handling a vehicle upgrade, a marine system, a power inverter install, or almost any DIY electrical project, the quality of your connections is critical. One piece that doesn’t always get attention is the lug especially 2 AWG cable lugs. These are designed to carry high current safely, but even the best lugs can fail if they aren’t installed the right way.
Small mistakes during installation can create heat, cause the current to cut in and out, or harm the terminals. The bright side is that all of this is easy to prevent. Below, you’ll find a straightforward guide to the most common issues people run into with 2 gauge cable lugs and what to do instead.
1. Using The Wrong Lug For The Cable Size
One of the biggest mistakes is choosing the wrong lug. A lug must match the cable size to create a safe, solid connection. If the lug is too large, the wire won’t crimp correctly. If it’s too small, the strands may not fit at all.
Why it matters:
Mismatched lugs cause poor conductivity and risk of overheating.
Fix:
Always use 2 AWG copper lugs for 2 AWG wires. Avoid improvising with “close enough” sizes, because even small mismatches reduce reliability.
2. Skipping Proper Wire Stripping Techniques
Stripping too much insulation or too little is another common issue. Excess exposed wire increases the chance of shorts. Not stripping enough prevents the wire from seating properly inside the barrel.
Avoid this by:
- Using a proper wire stripper
- Removing only the insulation needed to fill the lug barrel
- Making sure the copper strands stay clean and untwisted
Neat, clean copper ensures smoother current flow and a better crimp.
3. Twisting The Strands Before Inserting Them
Many people twist copper strands thinking it strengthens the connection. In reality, twisting can create uneven compression during crimping, which leads to weak spots inside the joint.
Why it’s a problem:
Twisted wires don’t compress evenly. This creates gaps that increase resistance.
Correct approach:
Keep the strands straight and insert them cleanly into your 2 gauge wire lugs.
4. Using The Wrong Crimping Tool
Not all crimping tools are equal. Some are meant for small terminals, while others are made for heavy-duty lugs. Using an undersized tool is one of the fastest ways to ruin an installation.
Consequences:
- Loose connections
- Over-compressed barrels
- Reduced conductivity
- Higher risk of heat buildup
Solution:
Use a proper hex or hydraulic crimper designed for 2 AWG copper lugs. A good crimping tool ensures even pressure and reliable long-term performance.
5. Crimping Only Once When Multiple Crimps Are Needed
Larger lugs benefit from multiple compression points. One crimp may not secure all the strands or create consistent pressure throughout the barrel.
A better method:
- Start with a firm crimp at the end closest to the ring
- Follow up with a second crimp toward the wire entry
This distributes pressure and makes the connection more stable.
6. Not Inspecting The Crimp After Compression
After crimping, it’s important to check the connection visually and physically. Many installers skip this step, assuming the crimp “looks fine.” But looks can be deceiving.
What to look for:
- No gaps between the copper and barrel
- Strands not spilling out
- Barrel not cracked or flattened
- Wire firmly secured with no play
A quick pull test also ensures the connection is locked in place.
7. Forgetting About Heat Shrink Or Insulation
Bare lugs without protection are vulnerable to moisture, corrosion, and short circuits, especially in marine or automotive environments.
Mistake:
Leaving the connection exposed after installation.
Fix:
Use heat shrink tubing rated for your setup. Seal the joint completely to prevent oxidation, which can make even high-quality 2 AWG cable lugs fail over time.
8. Mixing Materials That Don’t Pair Well
Another overlooked problem is mixing aluminium cable with copper lugs or pairing copper lugs with an aluminium terminal post. Dissimilar metals react over time, leading to corrosion and increased resistance.
Always pair:
- Copper wire with 2 AWG copper lugs
- Copper lugs with copper or tinned copper terminals
This ensures long-term stability and reduces the chance of galvanic corrosion.
9. Overtightening Or Undertightening The Terminal Bolts
Even with a perfect crimp, the connection can fail if the bolt securing the lug is not tightened properly.
Overtightening leads to:
- Cracked lugs
- Damaged threads
- Deformed connection points
Undertightening causes:
- Loose lugs
- Arcing
- Heat buildup
Use a torque wrench when possible and follow the equipment’s specifications.
10. Ignoring Maintenance And Inspection
Lugs in high-vibration environments, such as boats, cars, and RVs, require periodic checks. Many users forget this step entirely.
What to inspect:
- Any signs of discoloration
- Loose bolts
- Frayed insulation
- Corrosion around the terminal
A quick inspection every few months keeps your 2 gauge cable lugs performing safely.
How To Get Clean, Reliable Connections With 2 Gauge Cable Lugs
2 AWG cable lugs are made for tough, high-current jobs, but they can only perform well if they’re installed correctly. Using the right tools, making a solid crimp, and sealing the connection afterward go a long way in avoiding heat problems, voltage loss, and premature wear.
For dependable lugs that work well in vehicles, boats, solar systems, and other high-current setups, check out Selterm’s 2 AWG copper lugs. They’re made to deliver excellent conductivity, tough construction, and years of reliable use.